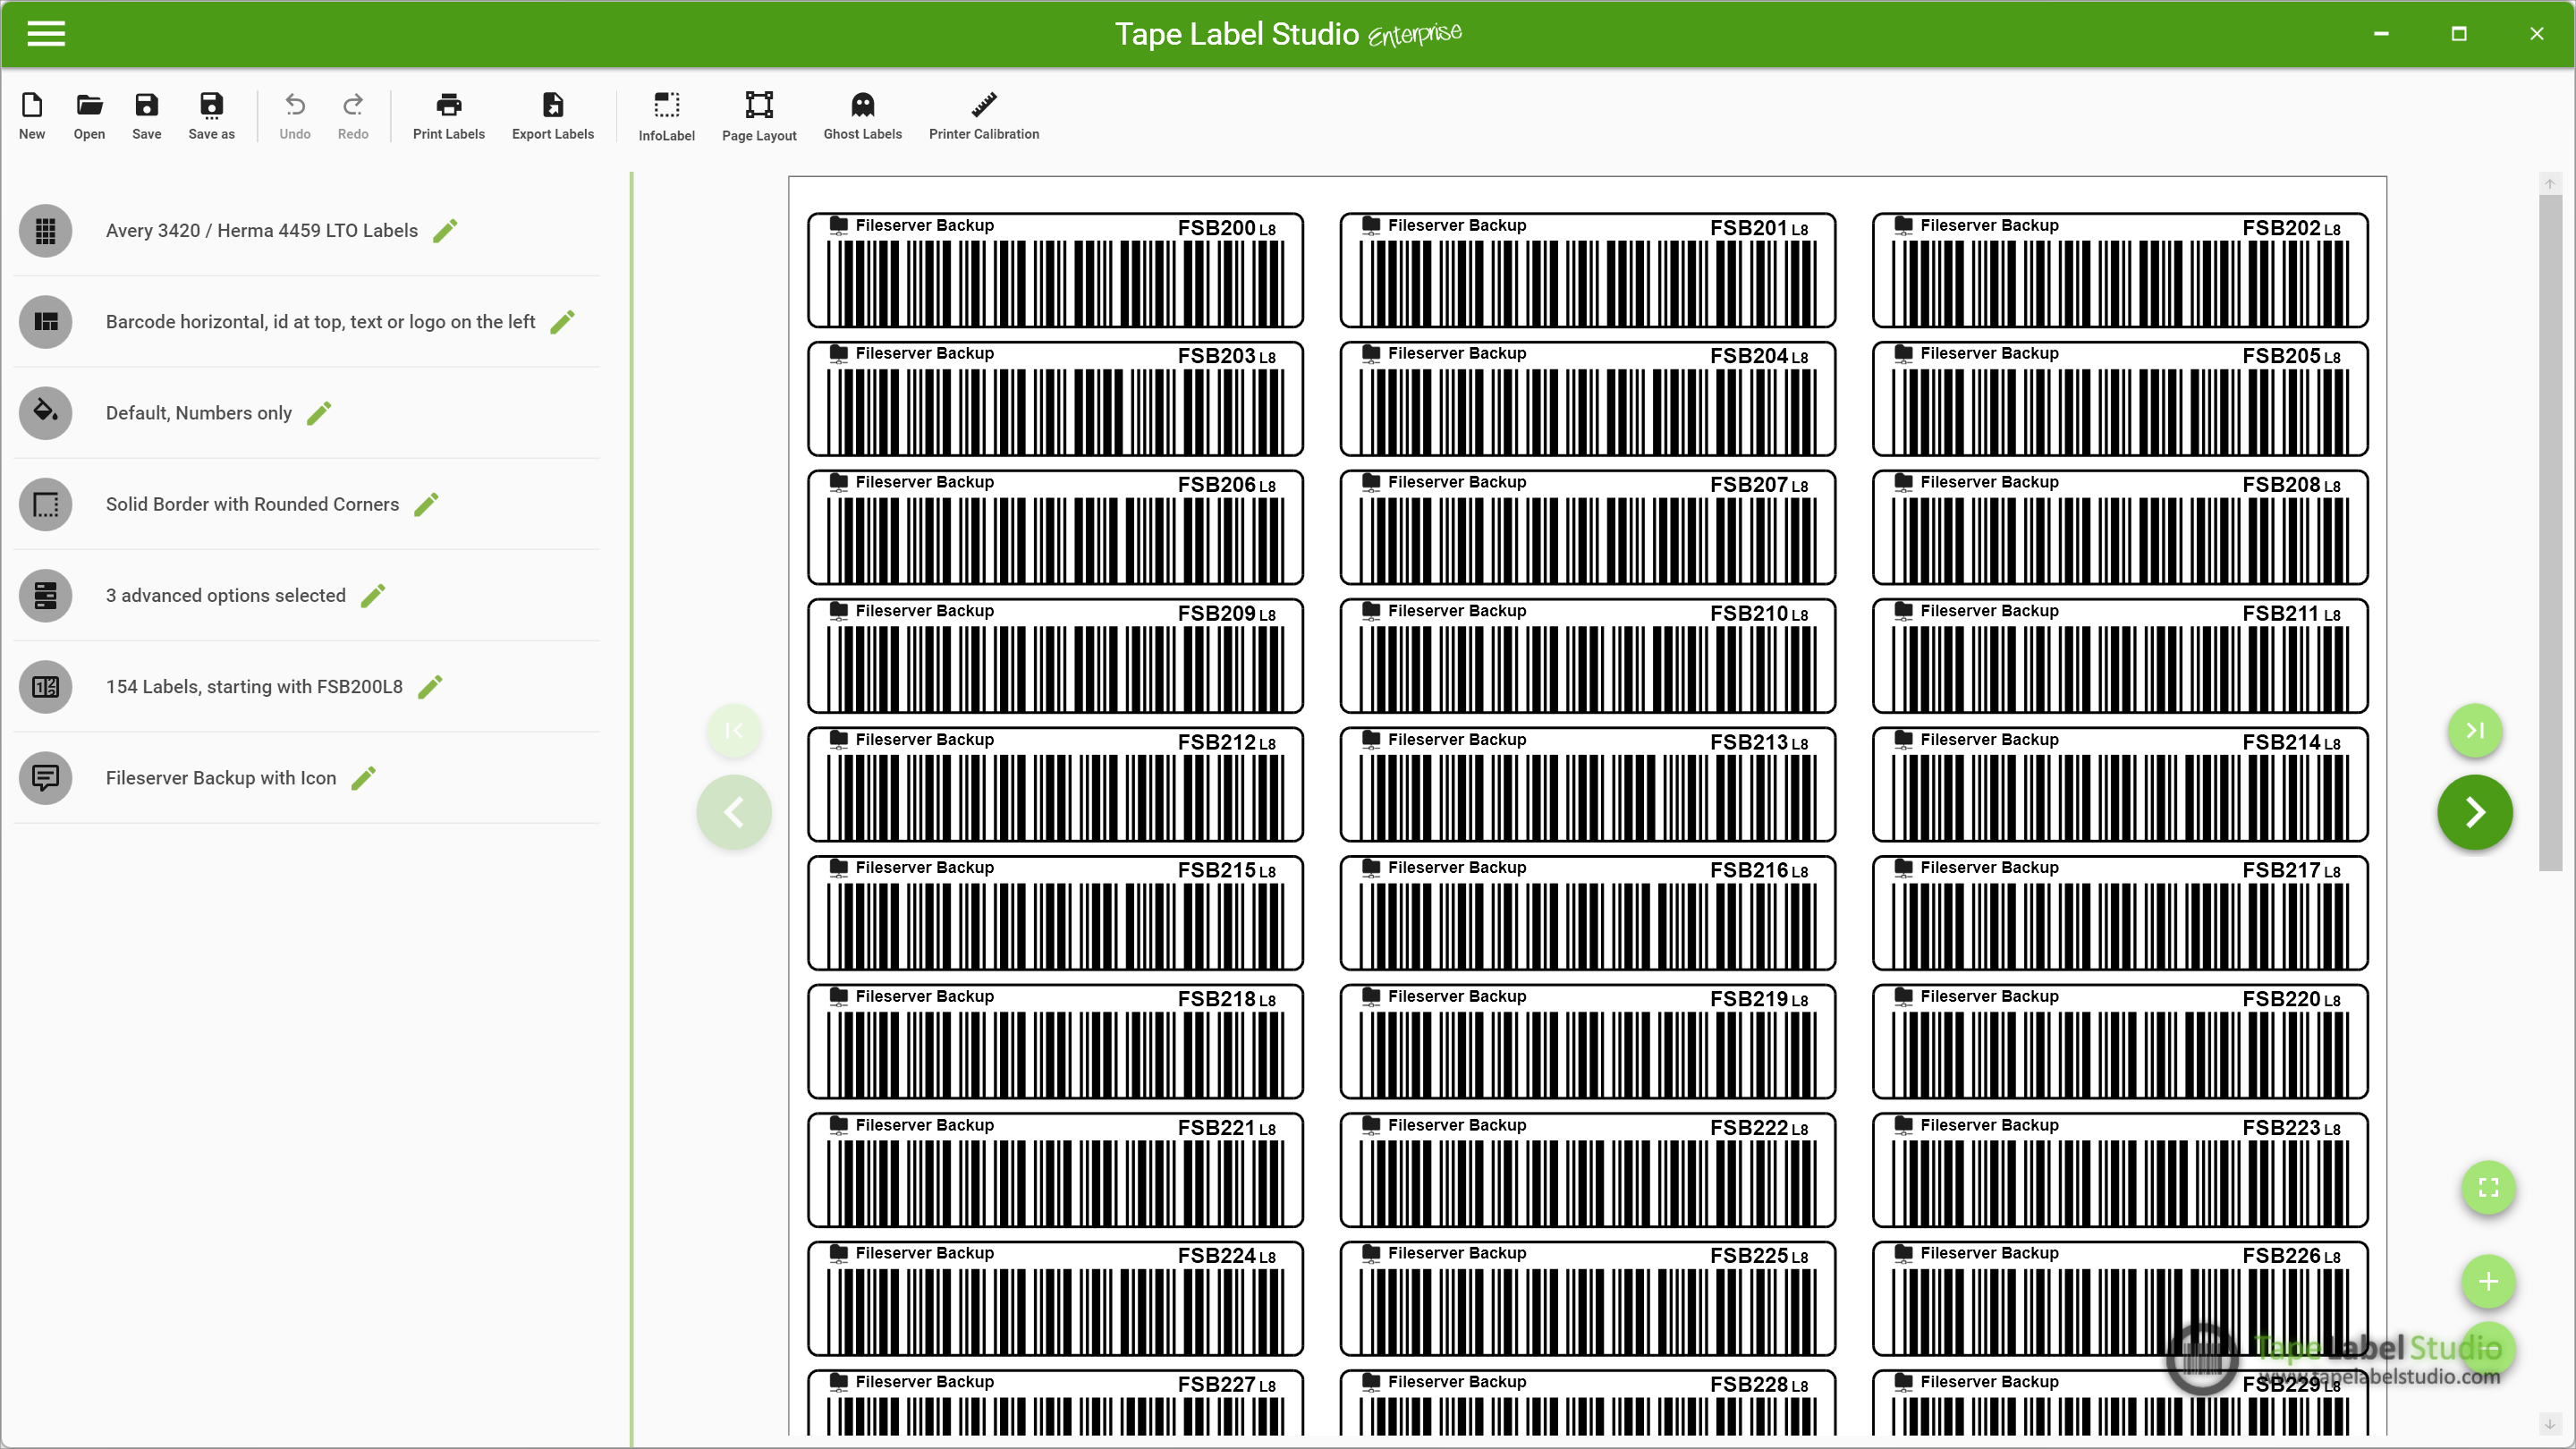
Automatic Mode
Please select an item from the screenshot to learn more.

New
Click this button to start with a new document. All settings will be reset.
Open
Continue to work with a saved document. Tape Label Studio files have the file extension .tls.
Save
To save your progress on the current document, click here. If you did not save the document yet, Tape Label Studio will ask for a filename and location.
Save as
To save your progress on the current document in a new file, click this button. Tape Label Studio will ask for a filename and location.
Undo
Most actions can be reverted by clicking Undo. If you haven't changed a thing, or if there's nothing left to be undone this button becomes unavailable.
Redo
The Redo button restores anything the Undo button reverted. This button becomes available as soon as something has been undone.
Print Labels
When you're done configuring your labels use this button to actually print them. Tape Label Studio uses the Windows printing subsystem - so every printer compatible with Windows can be used with Tape Label Studio.
Export Labels
If you don't have a printer available right now you can export your labels to a pdf document to print them later. Tape Label Studio will ask for a filename and location to save your labels.
InfoLabel
Use this button to open the InfoLabel selection dialog from where you can enable, disable and select the InfoLabel.
Page Layout
Open the page layout settings to set the starting label and to configure the page offsets of your document.
Ghost Labels
Enable or disable GhostLabels. GhostLabels are just a placeholder to show you unused space on your label document. GhostLabels will not be printed or exported.
Printer Calibration
This button is used to open the printer calibration selection dialog from where you can enable, disable and select the printer calibration settings.
Preview
This area is used to show you a preview of your label configuration containing all settings you selected. This is what is printed or exported later.
Template Selection
Click here to select the paper template your labels will be printed to.
Alignment Selection
To open the alignment selection dialog click here. Tape Label Studio offers different alignment options with and without label descriptions, color options and/or barcodes.
Previous page
Click here to navigate to the previous preview page.
Next page
Click here to navigate to the next preview page.
First page
Click here to navigate to the first preview page.
Last page
Click here to navigate to the last preview page.
Best fit / whole page
This button switches between the two zoom options best fit and whole page. Best fit displays the preview page while using the whole width available - you may need to scroll vertically to see all content. Whole page ensures that you see the whole page in the preview window without the need to scroll.
Zoom in
Use this button to zoom in. The content in the preview window is displayed larger.
Zoom out
Use this button to zoom out. The content in the preview window is displayed smaller.
ColorStyle Selection
To open the ColorStyle selection dialog click here. Tape Label Studio offers different colorstyle options and allows to create your own.
BorderStyle Selection
To open the BorderStyle selection dialog click here. Tape Label Studio offers different borderstyle options and allows to create your own.
Advanced Options
To open the Advanced Options dialog click here. Tape Label Studio offers to strech the barcode, insert a checksum character or to use antialiasing.
First label, media type and number of labels
LabelDescription Selection
Additional information
Automatic mode allows you to define a bunch of equal looking labels fast and easily. This mode is available in all versions of Tape Label Studio.
To get a set of printable labels you only have to take a few steps:
- Choose an alignment option
- Choose a color style
- Choose a border style
- Specify the starting label
- Specify a label description (if program licensed and supported by alignment option)
- Specify the number of labels to be printed
- Check if you need to use a checksum character and select any desired advanced options
